
Flutter & GraphQL: The Perfect Match for Building a Next-Generation Mobile App
"Discover the power of GraphQL and Flutter to build a flexible, efficient, and scalable mobile app that delivers a seamless user experience"


Table of contents


No headings in the article.
Are you tired of building mobile apps with clunky, outdated technologies? Look no further than Flutter - the revolutionary open-source mobile application development framework created by Google. With Flutter, you can easily create beautiful, responsive apps for Android, iOS, Linux, Mac, Windows, and the web. But the real magic happens when you connect your Flutter app to a GraphQL backend.
GraphQL, developed by Facebook, is a game-changer for mobile app development. It allows for flexible, efficient communication between the client and server by allowing the client to specifically request the data it needs, rather than getting a pre-defined set of data from the server. This improves performance, scalability, and overall user experience.
In this tutorial, we'll walk you through the process of building a simple Flutter app that uses a GraphQL backend. We'll start by setting up a new Flutter project and then adding the necessary dependencies. Next, we'll create a GraphQL server using Apollo Server and connect it to our Flutter app. Finally, we'll add some code and test the app to see it in action.
Here's a step-by-step guide to help you create your Flutter app with a GraphQL backend:
Create a new Flutter project by running the command
flutter create my_appin your terminal.Add the necessary dependencies to your pubspec.yaml file:
dependencies:
  flutter:
    sdk: flutter
  cupertino_icons: ^1.0.2
  graphql_flutter: ^5.1.2
This will install the graphql_flutter packages, which we will use to connect our Flutter app to the GraphQL backend.
- Create a new file called
server.jsin the root of your project and add the following code:
const { ApolloServer } = require('apollo-server');

const typeDefs = `
  type Query {
    hello: String
  }
`;

const resolvers = {
  Query: {
    hello: () => 'Why was the computer cold? Because it left its Windows open!',
  },
};

const server = new ApolloServer({ typeDefs, resolvers });

server.listen().then(({ url }) => {
  console.log(`Server ready at ${url}`);
});
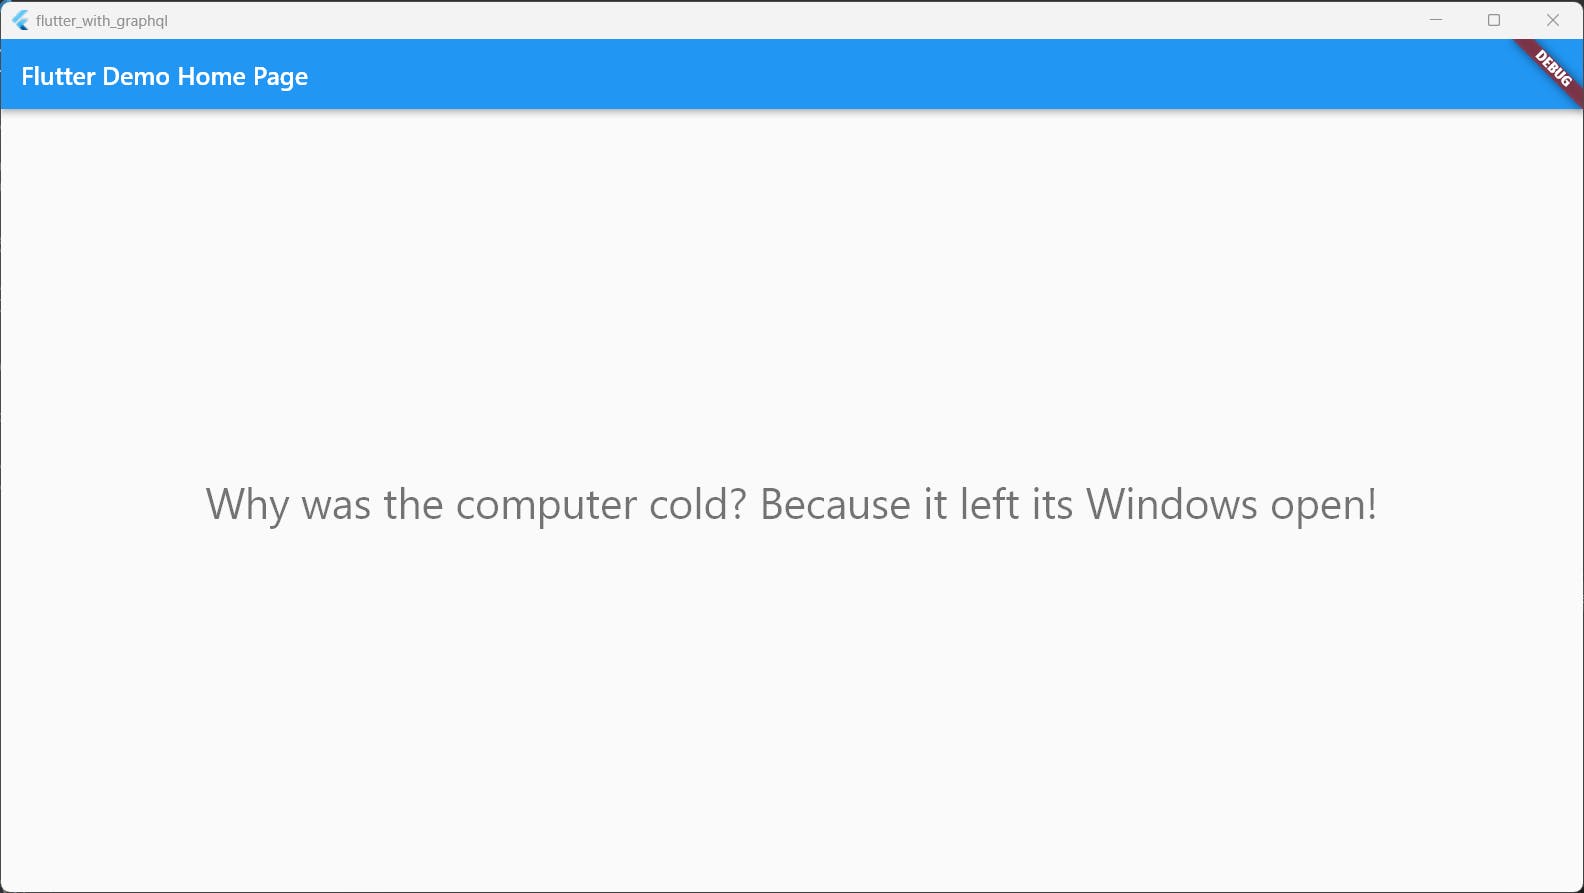
This will create a simple GraphQL server that returns a joke about computers when a hello query is made.
- To run the server, make sure you have Node.js installed on your computer. Once you have Node.js installed, open your terminal and navigate to the root of your project. Then run the following command:
node server.js
You should see a message in the terminal that says "Server ready at localhost:4000". This means that our GraphQL server is running and ready to receive queries.
- Next, we need to connect our Flutter app to the GraphQL server. Create a new file called
graphql_client.dartin thelibdirectory of your project and add the following code:
import 'package:graphql_flutter/graphql_flutter.dart';

final HttpLink _httpLink = HttpLink(
  'http://localhost:4000',
);

final GraphQLClient _client = GraphQLClient(
  cache: GraphQLCache(),
  link: _httpLink,
);

GraphQLClient client = _client;
Make sure to replace http://localhost:4000 with the appropriate URL for your server.
- Now that we have our client set up, we can use it to make queries in our app. Create a new file called
graphql_provider.dartin thelibdirectory of our project. In this file, we'll create a new class calledGraphQLProviderthat will provide easy access to ourGraphQLClientthroughout our app. Here's the code:
import 'package:flutter/material.dart';
import 'package:graphql_flutter/graphql_flutter.dart';

class GraphQLProvider extends InheritedWidget {
  final GraphQLClient client;

  const GraphQLProvider({Key? key, required Widget child, required this.client})
      : super(key: key, child: child);

  @override
  bool updateShouldNotify(GraphQLProvider oldWidget) =>
      client != oldWidget.client;

  static GraphQLClient of(BuildContext context) =>
      (context.dependOnInheritedWidgetOfExactType<GraphQLProvider>()
              as GraphQLProvider)
          .client;
}
- Now we can wrap our
MaterialAppwidget with ourGraphQLProviderin ourmain.darta file like this:
void main() {
  runApp(provider.GraphQLProvider(
    client: client,
    child: const MyApp(),
  ));
}
- We are almost done! To query the GraphQL endpoint, you can use the following code snippet in any of your widgets to get the response from the server:
 void getDataFromGraphQL() async {
    const String query = """
  query {
    hello
  }
""";

    final QueryOptions options = QueryOptions(
      document: gql(query),
    );

    final QueryResult result =
        await provider.GraphQLProvider.of(context).query(options);

    if (result.hasException) {
      print("Exception occred while reading the data ${result.exception}");
      // Handle errors
    } else {
      print("Successfully get the data");
      final String? joke = result.data?["hello"];
      // Do something with the data
      print("$joke  ${result.timestamp}");
    }
  }
This code snippet is making a query to the GraphQL endpoint using the graphql_flutter package, and using the hello a query that we defined in our server.js file. The QueryResult the object returned by the query method contains the data returned by the GraphQL endpoint. In this case, the data is a joke about computers.
To see the full code and try it out for yourself, visit our GitHub repository. Want to stay updated with my latest content? Follow me.
In conclusion, building a Flutter app with a GraphQL backend is relatively easy. With the right tools, you can easily connect your Flutter app to a GraphQL server and improve the performance and flexibility of your app.